
Shrimp and Veggie Enchiladas
My family and I love this dish because it is creamy, spicy, and provides a tasty way to get some veggies. If you haven’t noticed already, we are big fans of shrimp because they are low calorie and high protein. If I don’t purchase from the seafood counter, I’ll get a big frozen bag of raw, peeled, deveined shrimp and thaw the portion needed in the fridge the night before.
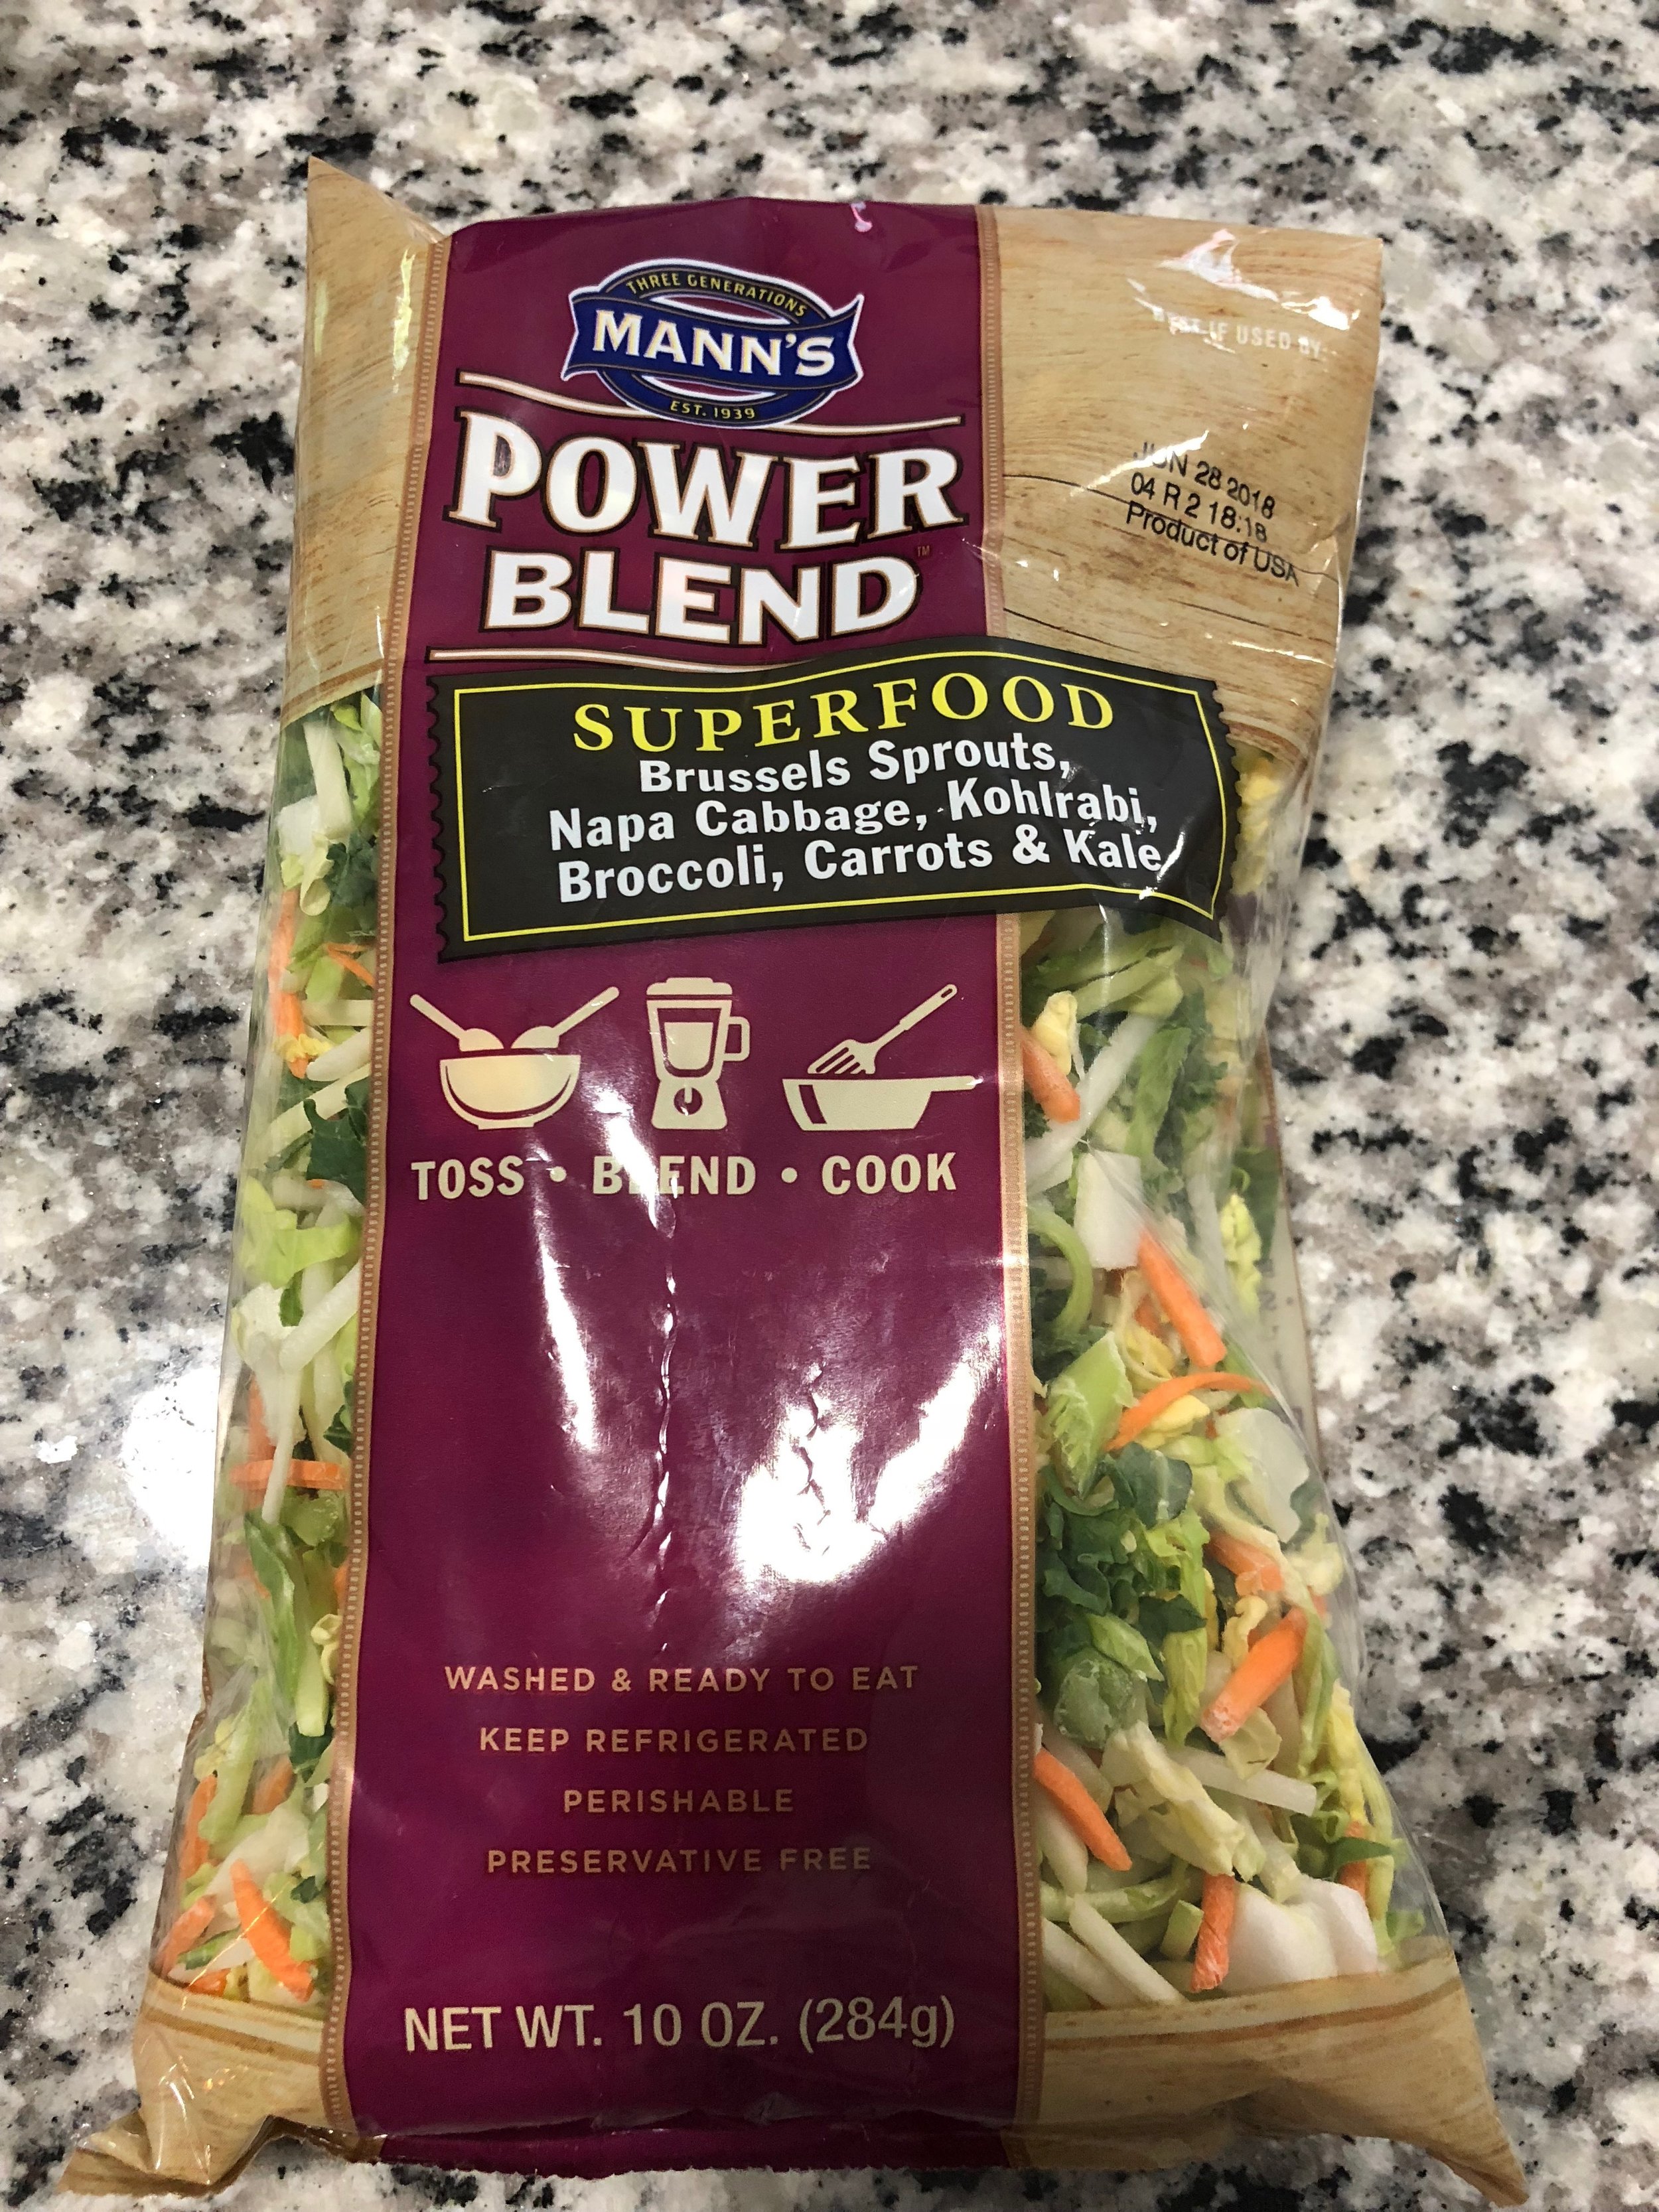
Also, I refer to the bagged slaw I use a couple times in the recipe below but thought I’d mention here that it is awesome to use for a couple meals. Use half the bag for this recipe and use the other half for a side of slaw, mix with your favorite salad dressing, and serve with another meal like my Baked Chicken Salad Pie. I’m all about efficiency and cutting down food waste in the kitchen :) plus, it’s delicious!

Ingredients - Serves 4 to 5
1 lb large shrimp, peeled and deveined
olive oil
freshly cracked pepper and sea salt, to taste
2 cloves garlic, minced
1 large shallot, finely diced
2.5 cups shredded cabbage and carrots (I used 1/2 bag of Mann’s Power Blend slaw)
3 cups baby spinach
2 tablespoons chipotle pepper, in adobo sauce*
1/4 teaspoon dried oregano
1/2 teaspoon cayenne pepper
12 (6-inch) corn tortillas, warmed for easier rolling
2 cups shredded Monterey Jack cheese, set aside 1 cup
For jalapeño sauce:
2 tablespoons unsalted butter
2 tablespoons all-purpose flour
1 1/2 cups low-sodium chicken broth
3/4 cup plain Greek yogurt
1 large jalapeño, seeded and minced
3/4 teaspoon garlic powder
freshly cracked pepper and sea salt, to taste
1/4 cup fresh cilantro, chopped
Directions
Preheat oven to 350 degrees and line a large baking pan with parchment paper or foil.
Place shrimp on baking pan and toss with about 1 tablespoon of olive oil and a generous amount of freshly cracked pepper and sea salt. Bake for 8-10 minutes or until cooked through. Remove tails if needed and set aside when done.
While shrimp is baking, chop the veggies. To save time like I did, feel free to use your favorite pre-washed and pre-cut slaw mix. I like the Mann’s Power Blend, mentioned above, because it has Brussels sprouts and more than just cabbage. You’ll still need to prep the garlic, shallot, and jalapeño for later.
In a large pan over medium heat, with a drizzle of olive oil, saute the shallot, garlic, and cabbage/carrots or slaw. When shallot is softened and veggies are crisp tender, add the chipotle pepper and mix to combine.
Add the spinach, oregano, and cayenne, and stir until the spinach is wilted. Season with freshly cracked pepper and sea salt to taste. Turn heat off and let mixture slightly cool.
While mixture is cooling, prepare the jalapeño sauce. In a small saucepan over medium heat, melt the butter and whisk in the flour to thicken. One thickened, add the chicken stock and Greek yogurt and briskly whisk to combine, then add the garlic powder, jalapeño, and cilantro and whisk to combine again. Add pepper and salt to taste. Let simmer until thickened. Turn off heat and set aside.
Prep tortillas by warming them according to package directions or wrapping them in a damp paper towel and microwaving for about 20 seconds does the trick. Keep covered until ready to use so they are pliable. Though, using corn tortillas, they might still crack when rolling but that’s okay. You could use flour tortillas or a corn/flour mixture.
Now time for filling! Scoop about ¼-⅓ cup of the mixture along with a sprinkle of the cheese (reserved from 1 cup) onto each tortilla and roll tightly.
Place seam side down in a lightly greased baking dish. I typically have to use two pans because I don’t have one big enough.
Pour the jalapeño sauce evenly over each of the enchiladas. Sprinkle with the reserved cup of cheese. Bake for about 20 minutes or until cheese is melted and enchiladas are heated through.
*Tip: Save the remaining chipotles and adobo sauce by pouring into a freezer bag or container. Freeze for a convenient way to use later. If using a freezer bag, when I need a portion, I’ll take from the freezer and break up the portion needed (eyeball it) from the outside of the bag, slide it out, and it’s ready to go.
adapted from this recipe
Enjoy!